
LobeHub
Configure LobeHub to use OpenModel as an API provider
Overview
LobeHub is a popular open-source AI chat platform and personal AI assistant. It supports multiple AI providers, offers a versatile interface, and runs as a desktop application on Windows, macOS, and Linux. By configuring OpenModel as a custom provider in LobeHub, you can access all models available through OpenModel -- including GPT, Claude, Gemini, DeepSeek, and others -- from a single, unified chat interface.
This guide walks you through installing LobeHub, connecting it to OpenModel, adding models, and verifying that everything works.
Prerequisites
Before you begin, make sure you have:
- An OpenModel API Key -- If you do not have one yet, follow the Authentication guide to create an API key in the OpenModel Console. Your key starts with
om-. - A desktop computer running Windows, macOS, or Linux.
Install LobeHub
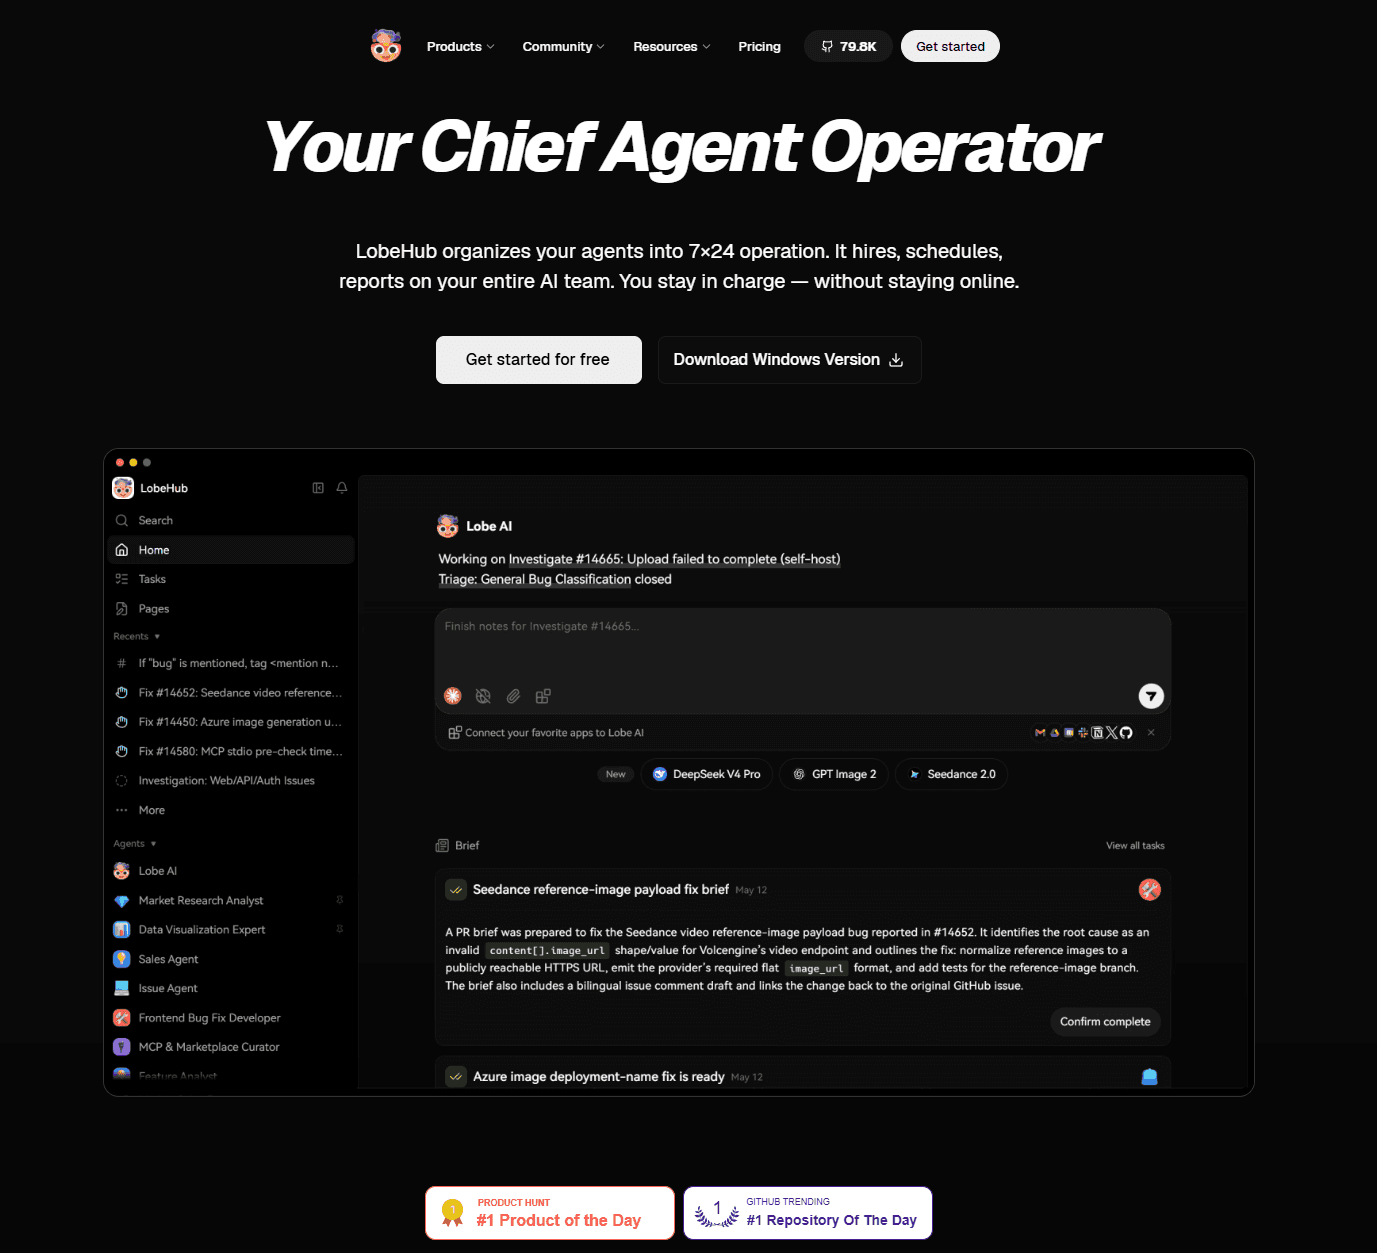
- Visit the official LobeHub website at lobehub.com.
- Download the installer for your operating system (Windows, macOS, or Linux).
- Run the installer and follow the on-screen instructions to complete the installation.
Complete Initial Setup
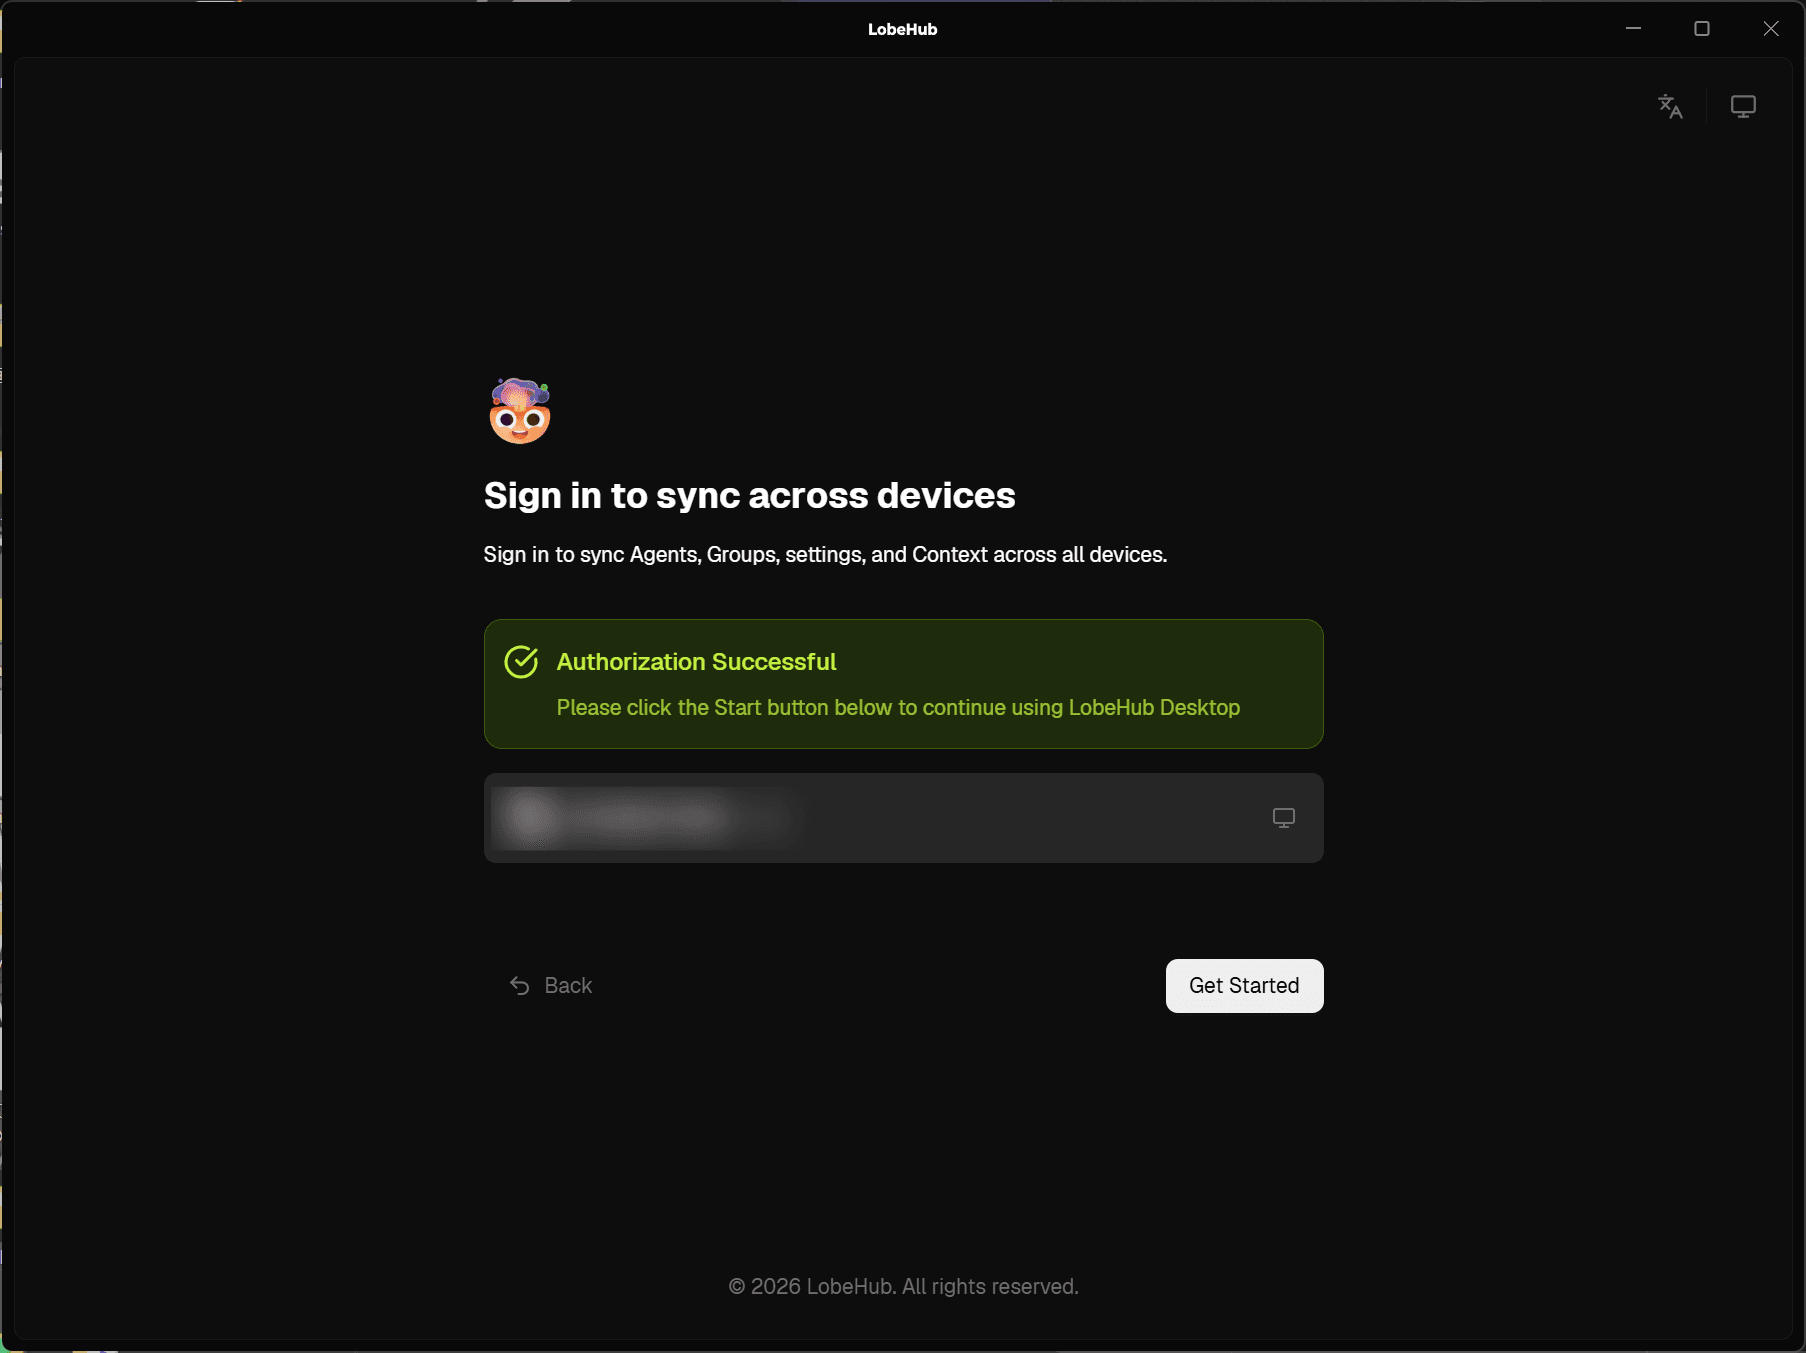
- Launch the LobeHub application after installation.
- Follow the initialization wizard that appears on first launch. This typically involves selecting your language, theme, and other basic preferences.
- Complete the setup to reach the main chat interface.
Open Settings
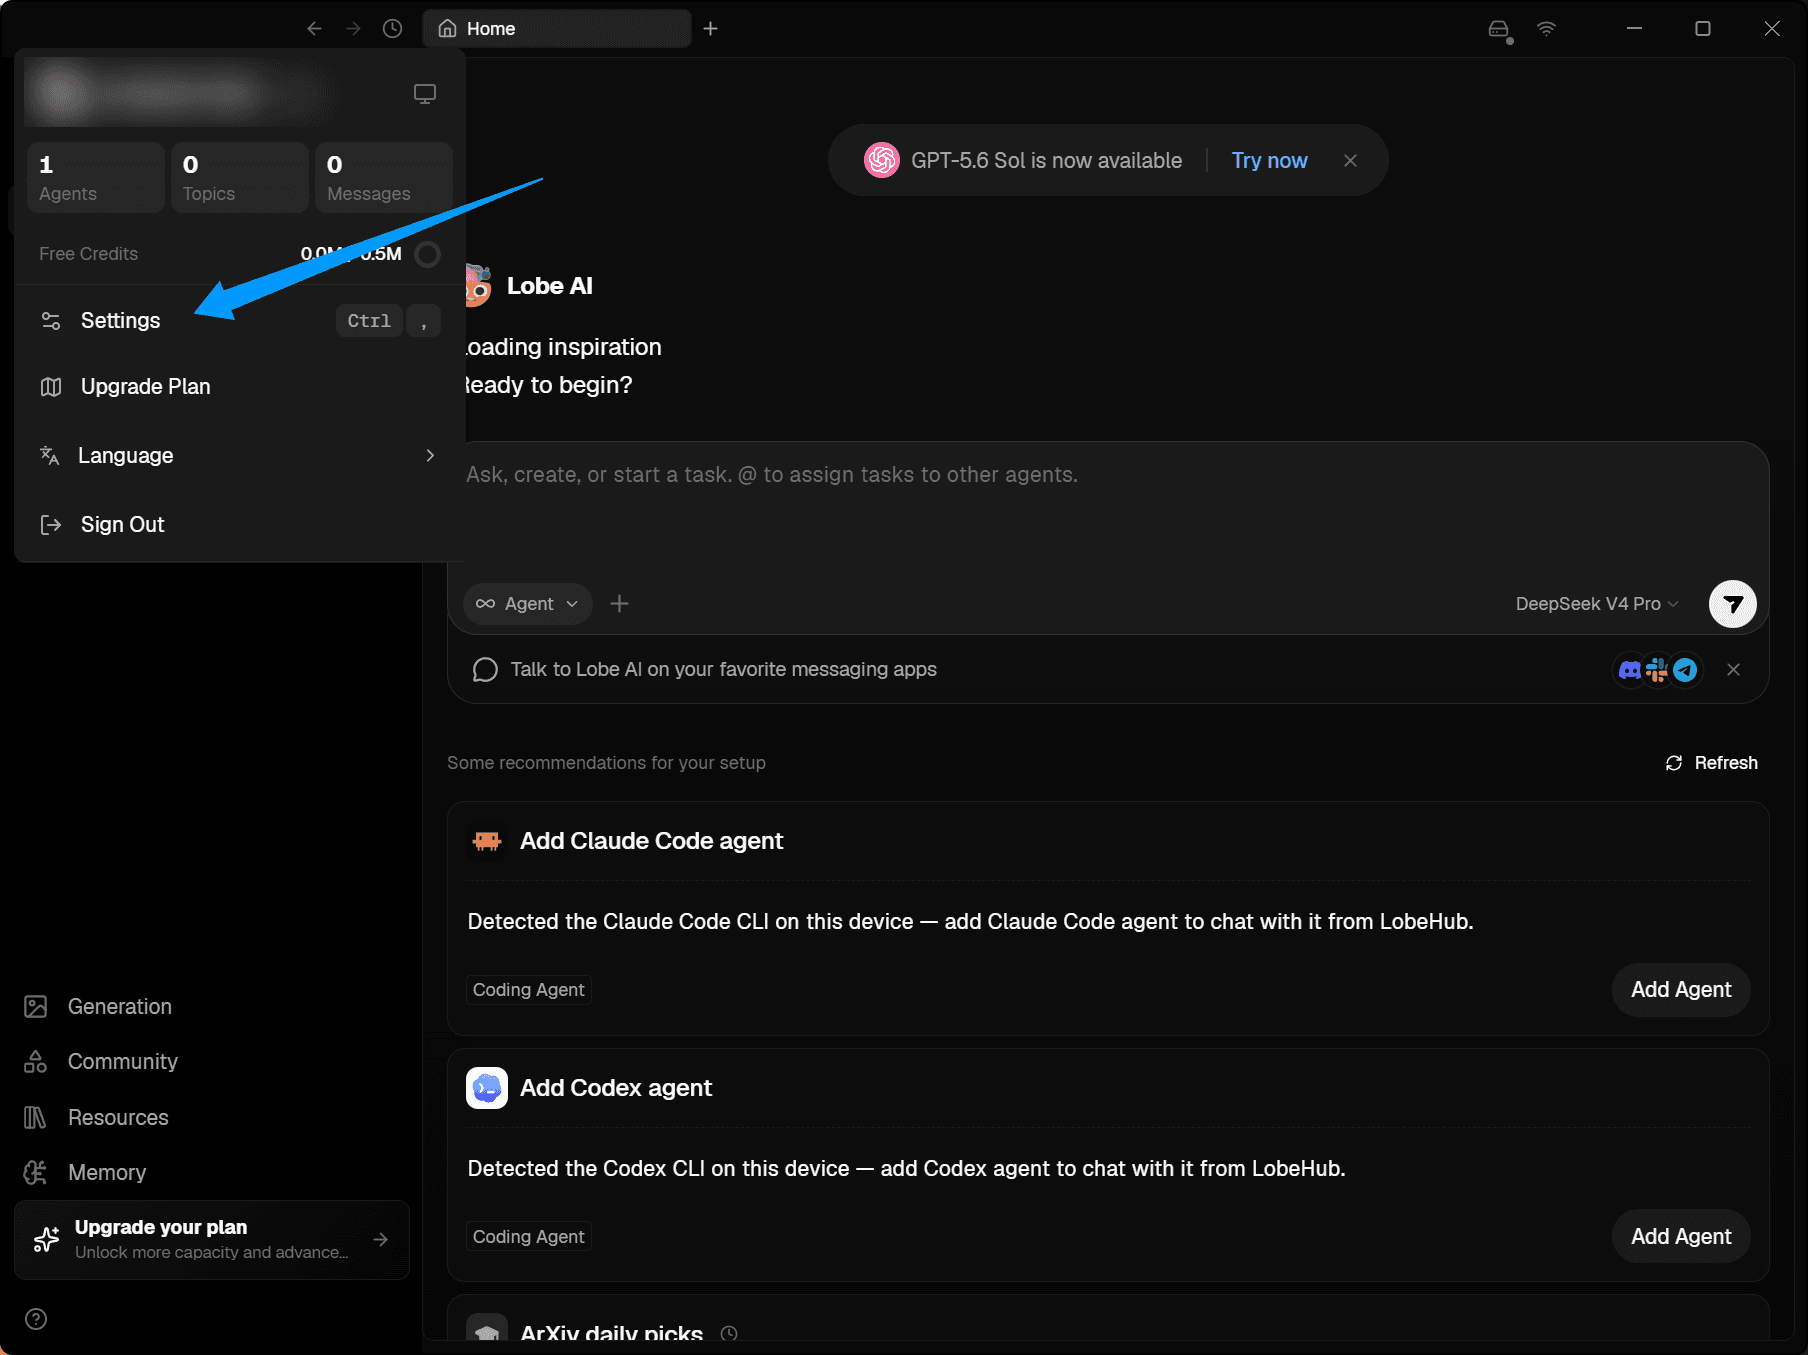
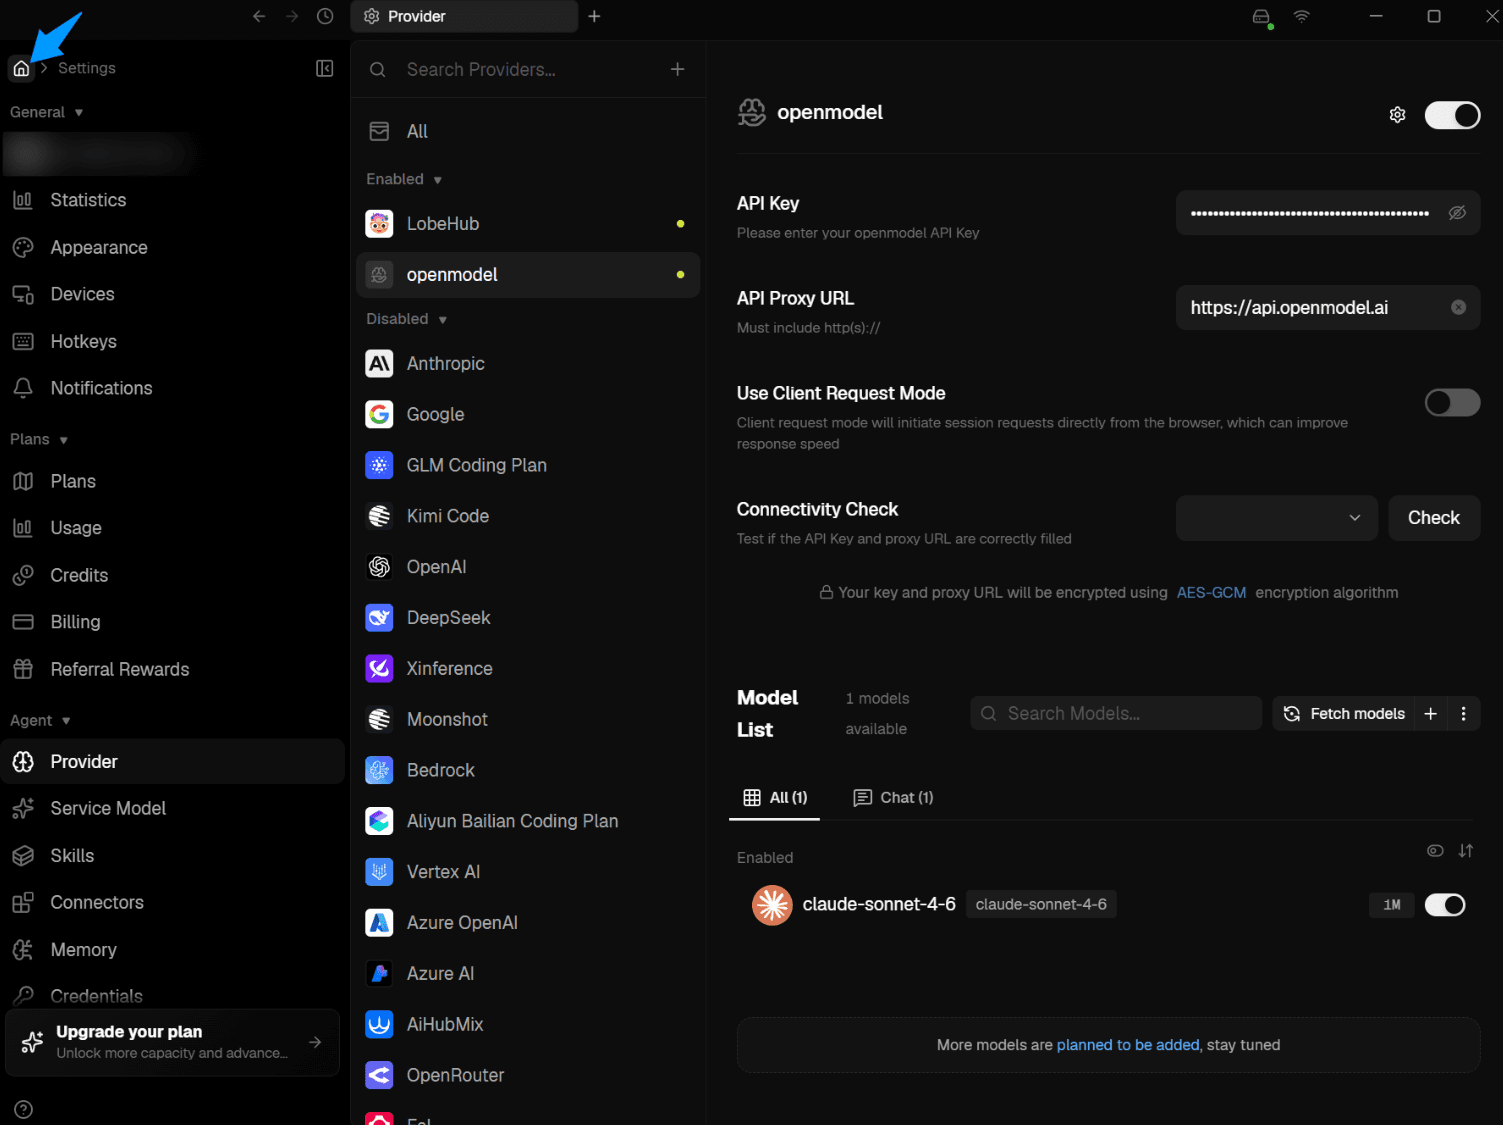
- In the main interface, locate your avatar (profile icon) in the top-left corner of the window.
- Click the avatar to open the user menu.
- Click Settings to open the settings panel.
Add a New Provider
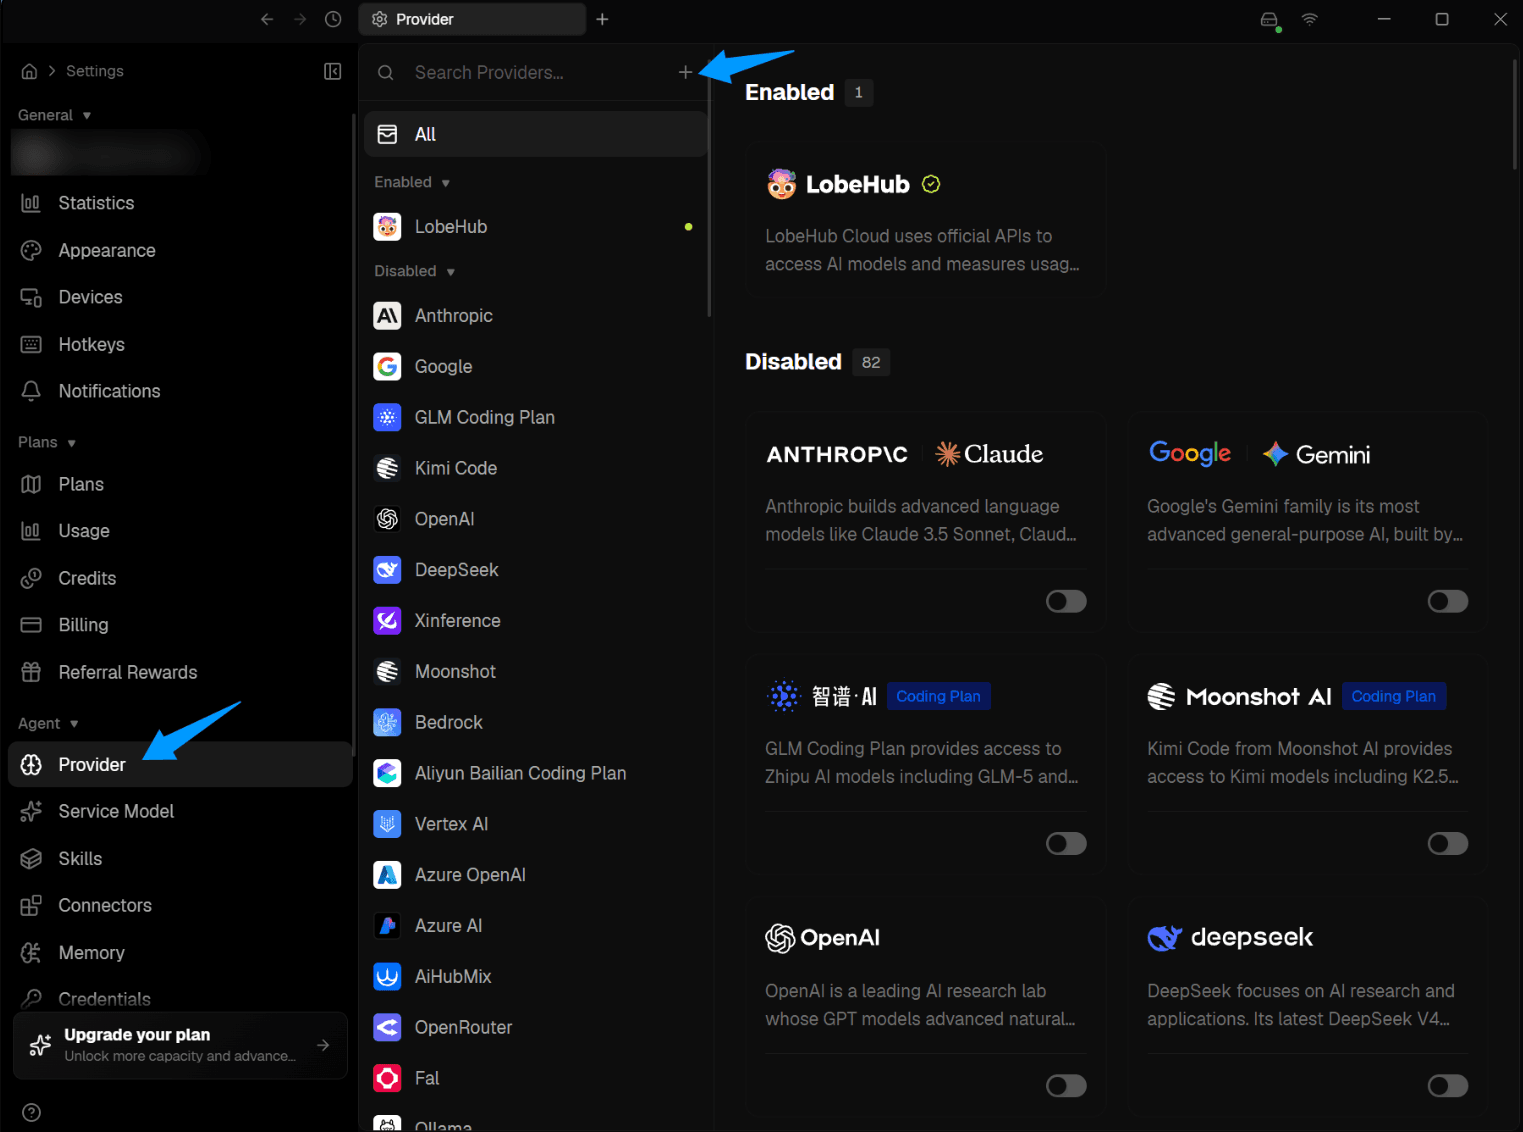
- In the Settings panel, select the Provider tab from the left sidebar.
- Click the Add button to add a new AI provider.
Configure the OpenModel Provider
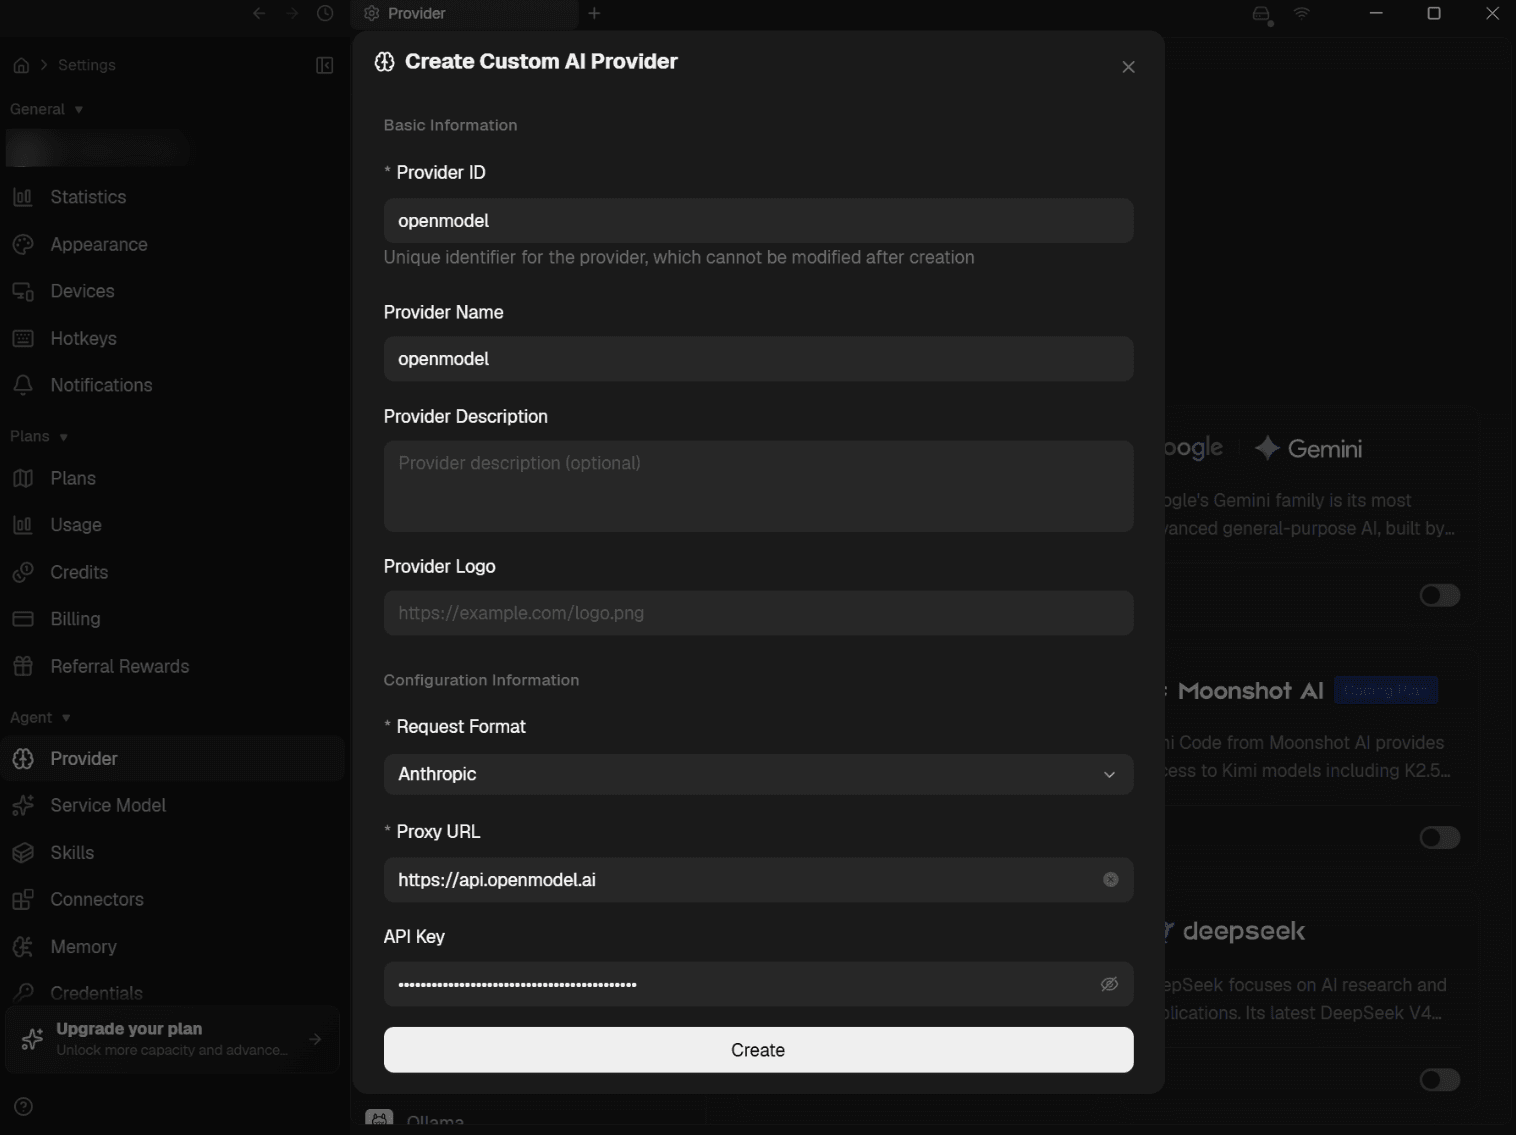
This is the most important step. You need to configure the connection details so LobeHub can communicate with the OpenModel API.
Fill in the following fields:
| Field | Value | Notes |
|---|---|---|
| Provider Name | OpenModel | You can use any name you prefer, but OpenModel is recommended for clarity. |
| Request Format | OpenAI or Anthropic | See the guidance below to choose the correct format for your model. |
| API Proxy URL | https://api.openmodel.ai | This is the OpenModel API base URL. Enter it exactly as shown. |
| API Key | Your OpenModel API key | Paste the API key you created in the OpenModel Console (starts with om-). |
Choosing the Request Format
The Request Format determines which API protocol LobeHub uses to communicate with OpenModel. You must select the correct format based on the model you intend to use:
-
OpenAI -- Select this for models that use the Responses protocol, such as:
gpt-5.4,gpt-5.4-mini,o3,o4-mini, and other OpenAI models- DashScope models when using the OpenAI SDK (e.g.,
qwen3-max)
-
Anthropic -- Select this for models that use the Messages protocol, such as:
claude-opus-4-6,claude-sonnet-4-6,claude-haiku-4-5-20251001, and other Anthropic modelsdeepseek-v4-flash,deepseek-v4-pro(DeepSeek)qwen3-max,qwen3.5-72b(DashScope via Messages)kimi-k2.6,minimax-m3, and other Messages-protocol providers
Tip
If you plan to use models from both protocols, you can create two separate providers in LobeHub -- one with the OpenAI format and one with the Anthropic format. This allows you to switch between them freely. See Available Models for the full list of models and their protocols.
After filling in all fields, click Create to save the provider configuration.
Add a Model
After creating the provider, you need to add the specific models you want to use.
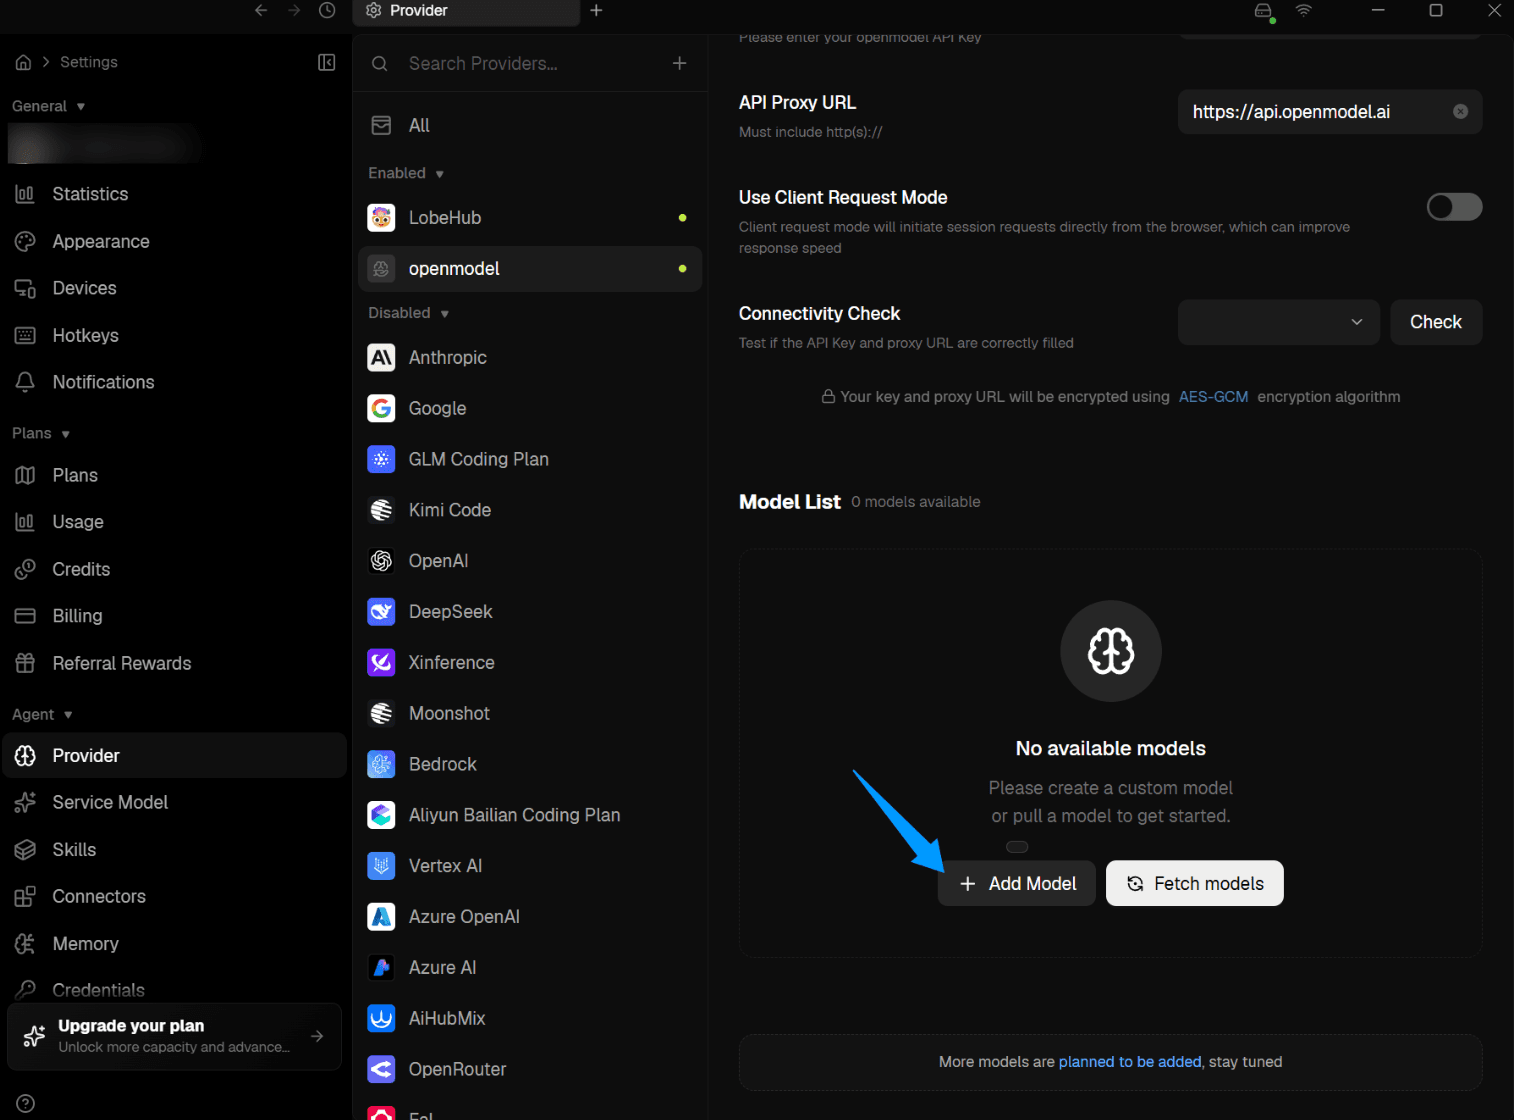
- In the Provider settings, select the OpenModel provider you just created.
- Scroll down to the Model List section.
- Click the Add Model button to add a new model.
Configure Model Details
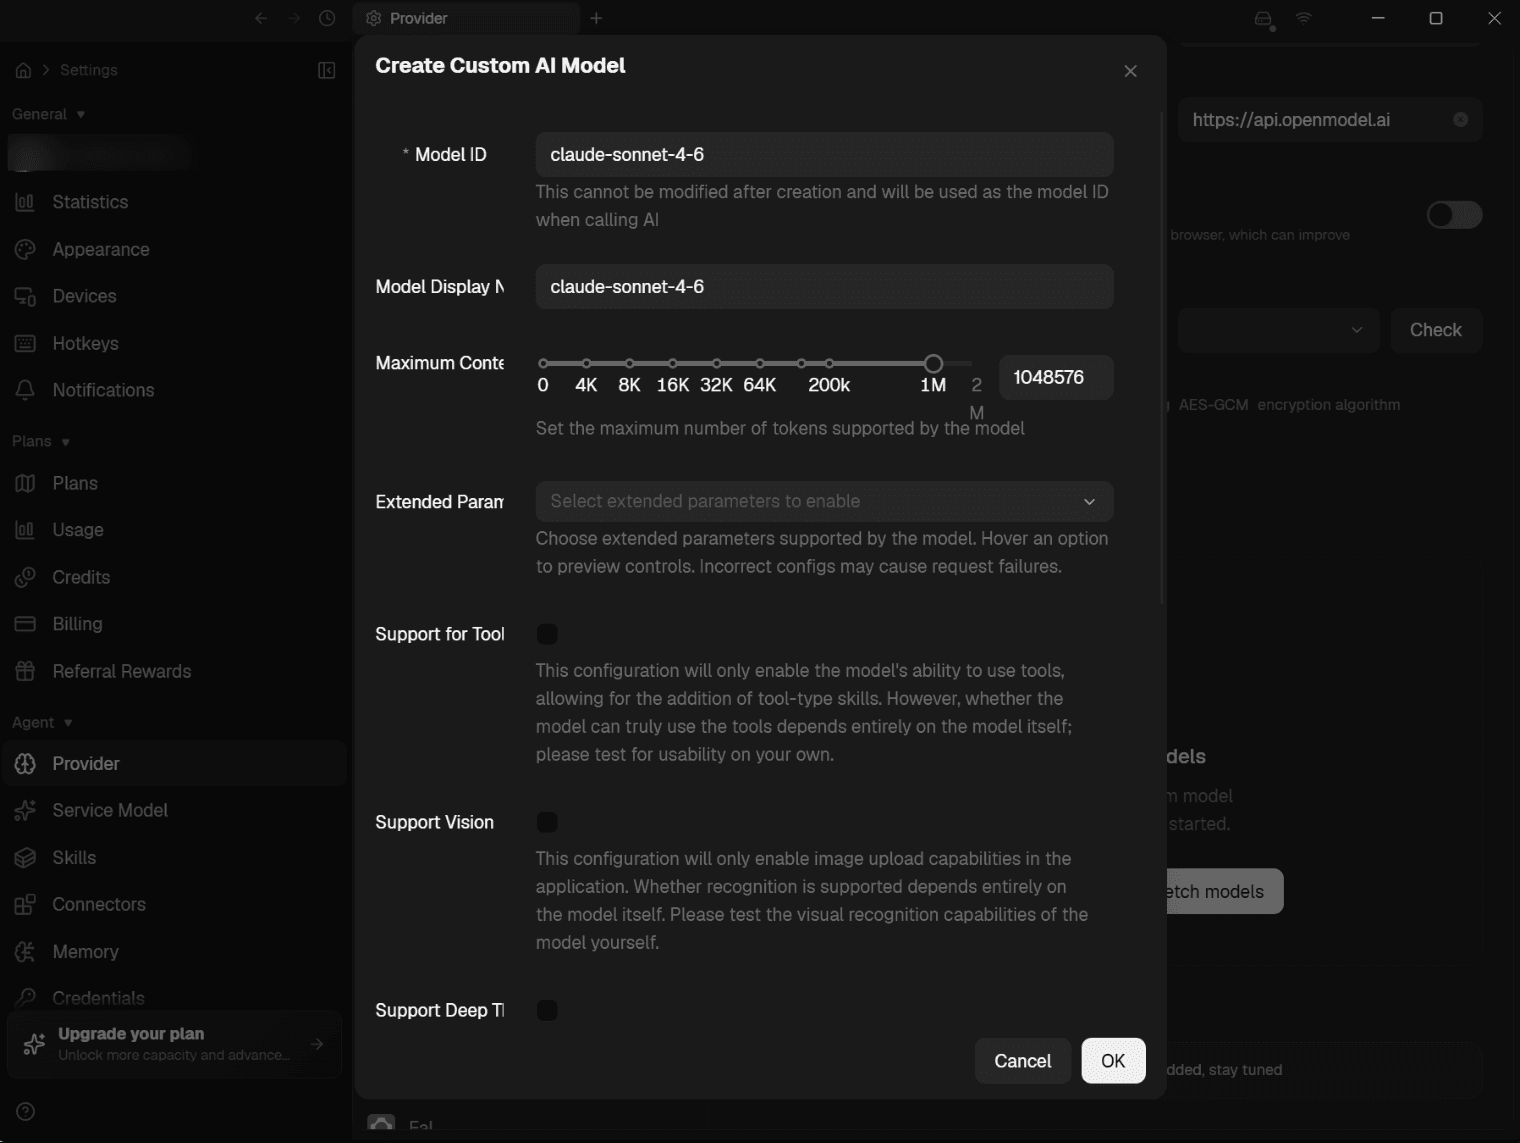
In the model configuration dialog, fill in the model details:
| Field | Description | Example |
|---|---|---|
| Model ID | The exact model identifier used by the API. This must match the model name on OpenModel. | claude-opus-4-6 |
| Display Name | A friendly name shown in the LobeHub interface. | Claude Opus 4 |
| Context Window | The maximum number of tokens the model can process (input + output). | 200000 |
Tip
You can find the exact model IDs, context window sizes, and other specifications on the Model Pricing page.
After filling in the model details, click OK to save.
Repeat Steps 6 and 7 for each model you want to add. You can add as many models as you need.
Select Your Model
- Return to the main chat interface by closing the Settings panel.
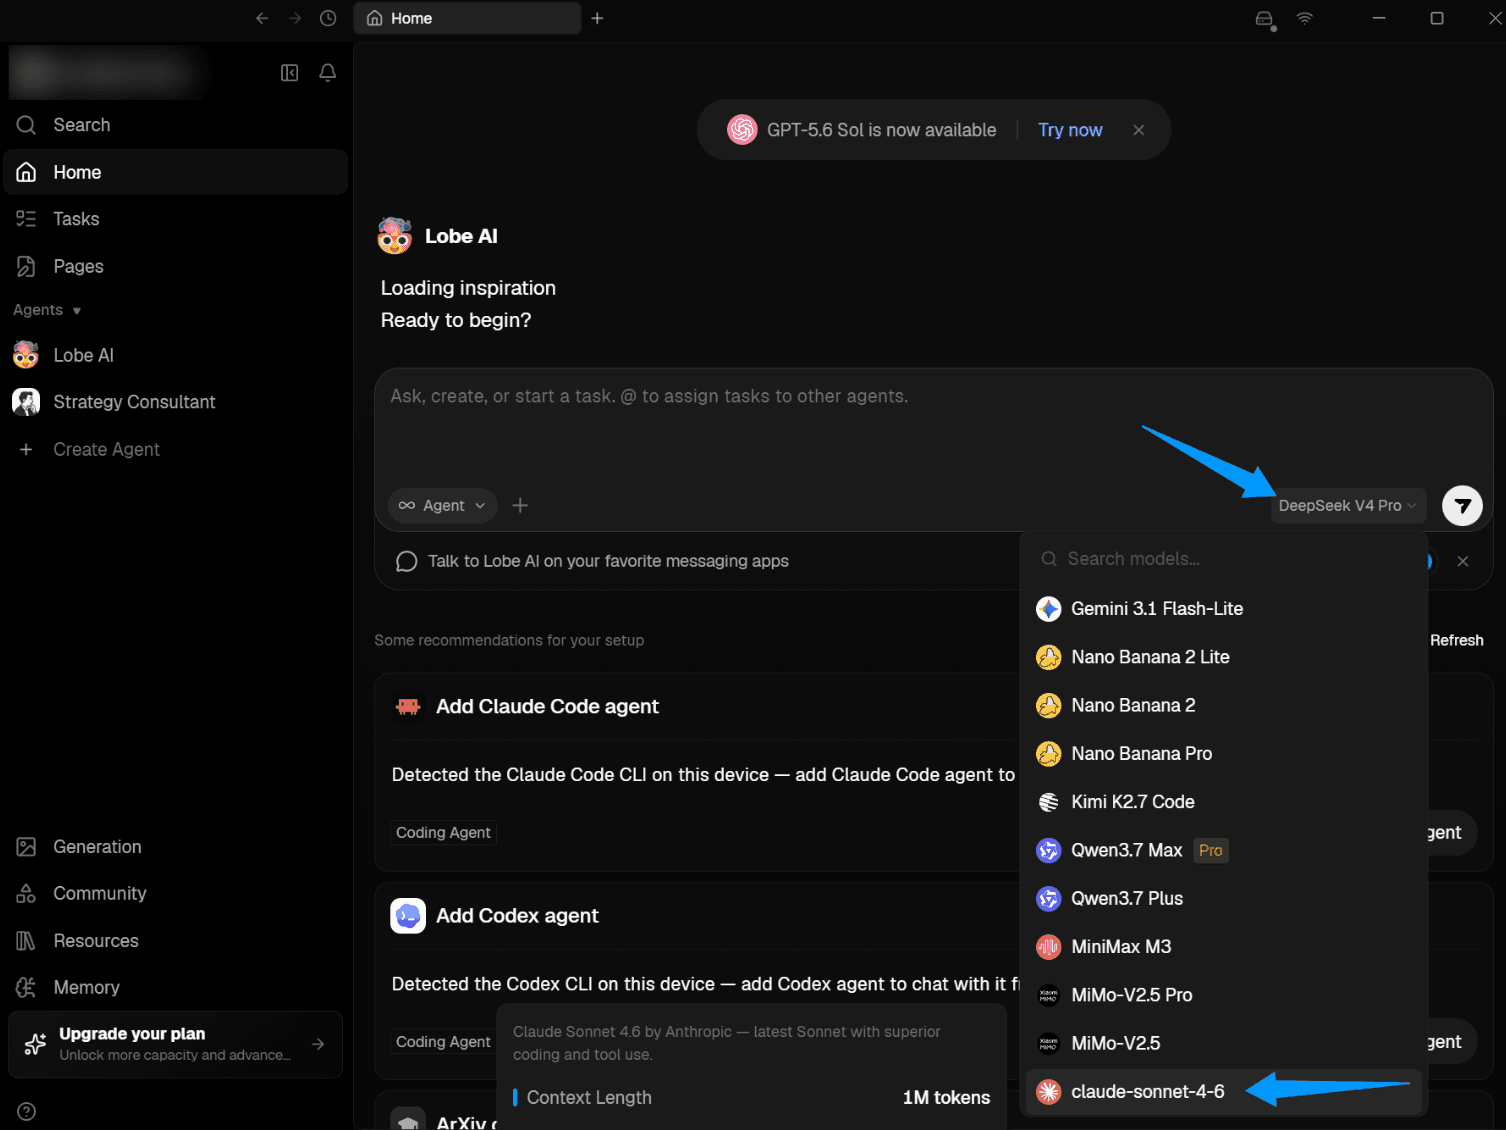
- Look for the model selector in the chat area (typically near the top or in the input area).
- Click the model selector to open the model list.
Find Your Configured Model
In the model selection dropdown, find and select the model you configured through the OpenModel provider.
Verify Configuration
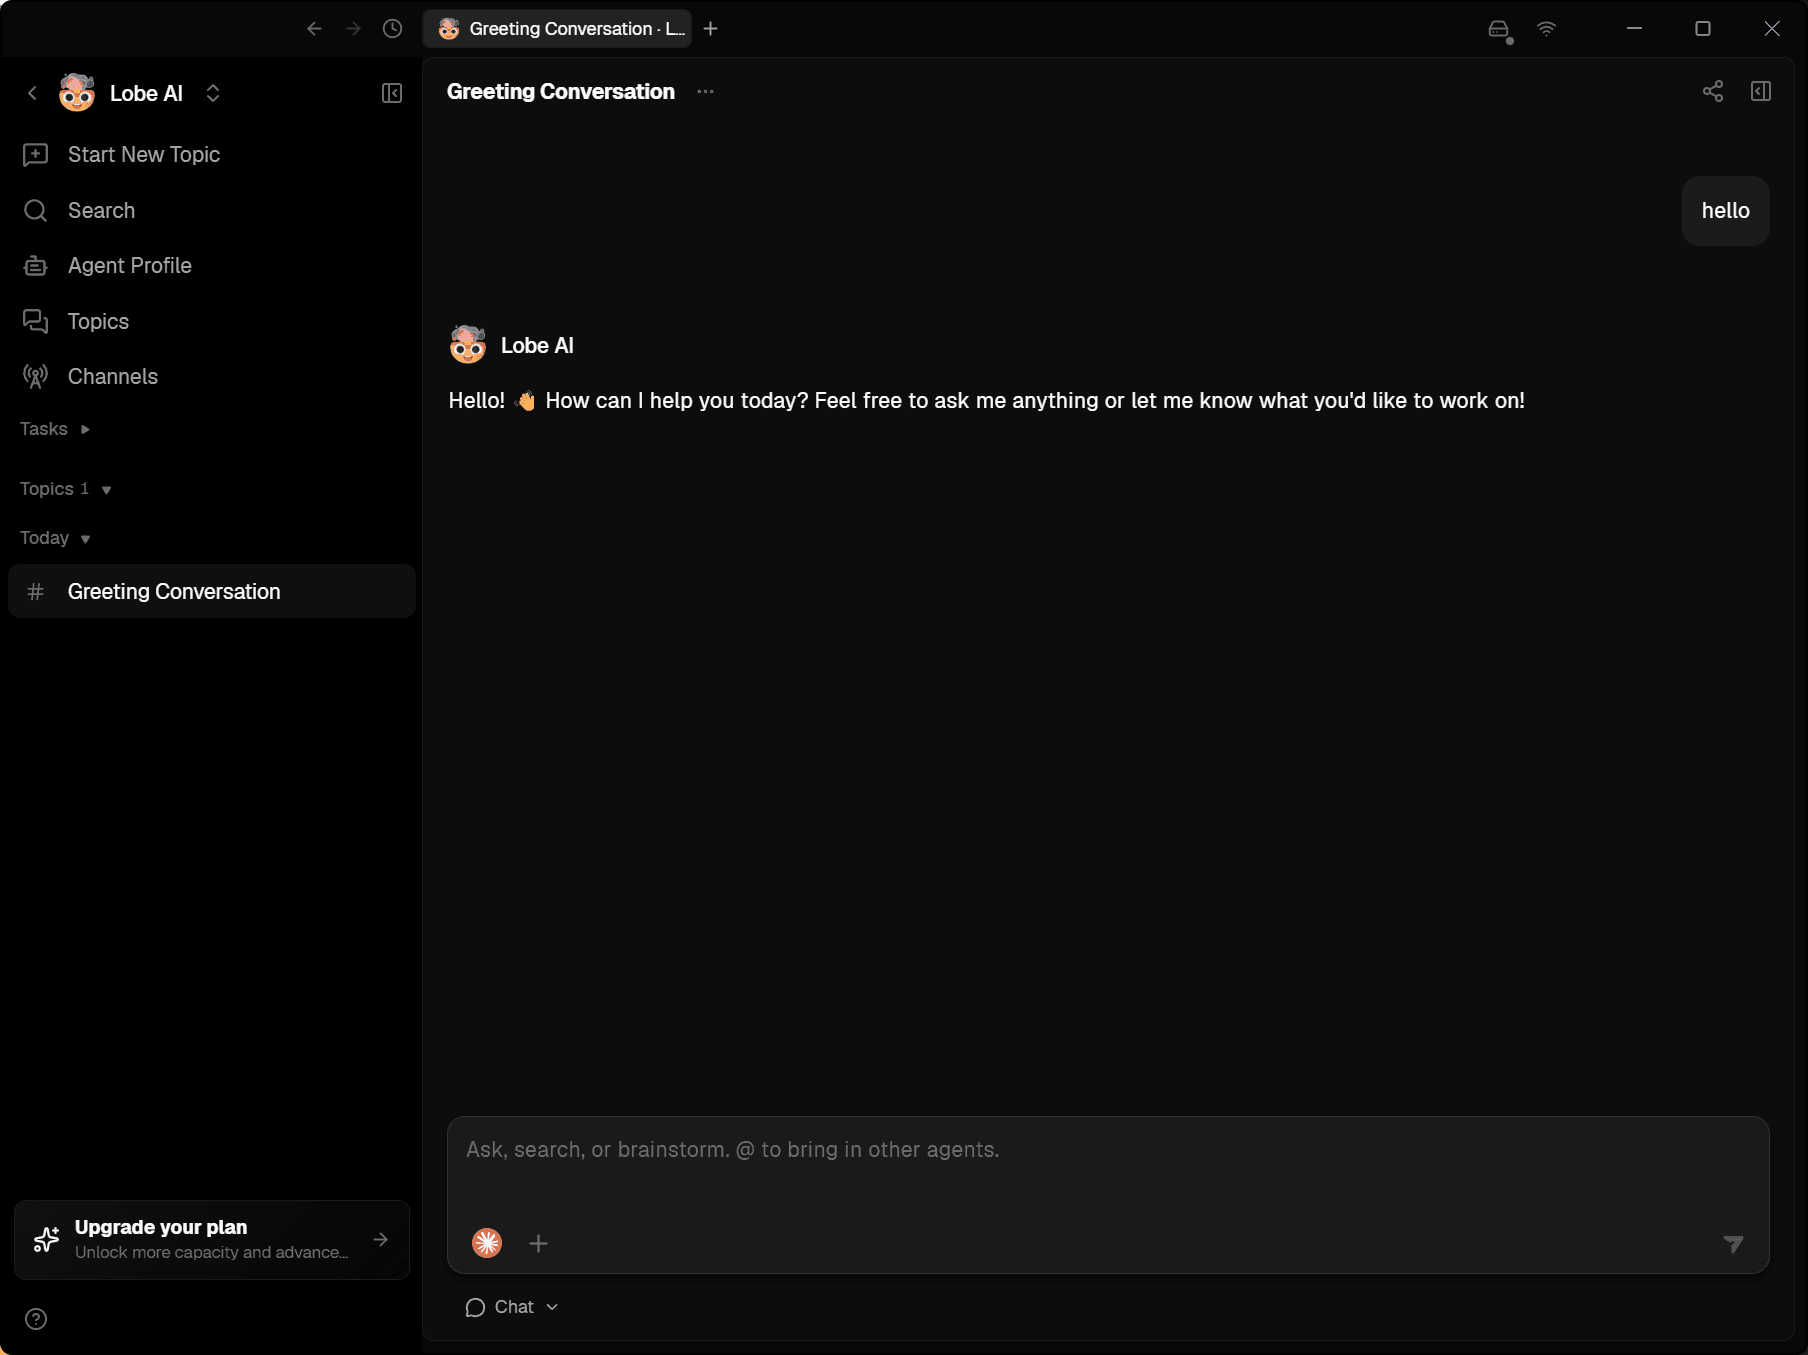
Send a test message to verify that everything is working correctly:
- Type a simple message such as "Hello, who are you?" in the chat input.
- Press Enter to send the message.
- If you receive a response from the model, the configuration is successful.
Troubleshooting
"Request failed" or no response
- Check your API Key: Make sure you copied your OpenModel API key correctly. It should start with
om-. You can verify it works by testing with cURL -- see the Quickstart guide. - Check the API Proxy URL: Ensure the URL is exactly
https://api.openmodel.aiwith no trailing slash or extra path segments. - Check your account balance: Log in to the OpenModel Console and verify that your account has sufficient credits.
Wrong response format or errors
- Verify the Request Format: If you are using a Claude model but selected the
OpenAIrequest format (or vice versa), LobeHub will send requests in the wrong protocol and the API will return errors. Double-check that the request format matches your model's protocol. See Available Models for protocol details.
Model not appearing in the selector
- Check the model was added: Go back to Settings > Provider > OpenModel and verify the model appears in the Model List.
- Check the Model ID: The model ID must exactly match the identifier used by OpenModel (e.g.,
claude-opus-4-6, notclaude opus 4). Check the Model Pricing page for correct model IDs.
Slow responses or timeouts
- Check your network connection: Ensure you have a stable internet connection.
- Try a different model: Some models may have higher latency than others. Try a smaller model (e.g.,
claude-haiku-4-5-20251001orgpt-5.4-mini) to test connectivity. - Check rate limits: You may be hitting rate limits. See the Rate Limits guide for details.
Next Steps
- Available Models -- Browse all supported providers and models to add more models to LobeHub
- Model Pricing -- Check model specifications, context windows, and pricing
- Streaming -- Learn about streaming support (LobeHub uses streaming by default for real-time responses)
- Authentication -- Manage your API keys, set quotas, and configure expiration
- Rate Limits -- Understand usage limits and quotas
- Cherry Studio -- Set up OpenModel in another desktop AI chat client